How to: Set up your adventure bike suspension like a pro - with placeholder images for now***

Standard suspension setups have to suit riders of all shapes, sizes and abilities, meaning the OEM hardware fitted to your bike is inevitably a compromise. Chances are it could be improved enormously by investing nothing more than a little tinkering time – and you'll only need a tape measure, flat-bladed screwdriver and an appropriately sized C-spanner to get started.
The process might seem daunting at first - and reasonably so. It can and will make a huge difference to the way your bike rides. But it needn’t be so mysterious, which is why we’ve put together this handy guide, with the help of WP guru Mitch Boyland, owner of Technical Solutions, to help you get your head around the basics and (hopefully) achieve suspension nirvana.
Before we begin, it goes without saying that to get the best from your forks and shock, you’ll need to ensure that all the chassis bearings on your machine – e.g. those in the rear linkage, headstock, swingarm pivot, and even your wheel bearings - are in fine fettle having been cleaned, greased and checked for free play.
Jargon buster – speak the language of suspension
Before reaching for the tools, let's break down the lingo.
 Sag is how much the suspension compresses under the bike's own weight (static) and with the rider onboard (rider). We'll cover off why this is important and how it works further down, but for now, it's easy to think of sag as how much available stroke there is once the bike is under load to absorb impacts, and inversely, how much stroke is available to extend and keep your wheels on the ground as the load decreases.
Spring rate is a measure of a spring's stiffness – the amount of force required to compress it over a given distance. For us metric-minded folk, it's measured in Newtons per millimetre (N/mm), so a 100 N/mm spring requires 100 Newtons of force to compress it by 1mm, 1000N to compress it by 10mm, and so on. The spring rate is fixed by the spring itself, usually in 10kg increments, and determines whether it can properly support the combined weight of the rider, luggage and motorcycle. Most ADV machines come set-up for a rider around 80-90kg.
Preload is probably the most misunderstood suspension adjustment. Contrary to popular belief winding on additional preload does not 'firm up' your suspension. It simply compresses the spring before external force is applied (e.g. the bike's weight, you, your luggage, pillion, pet cat, and so on), storing energy within it and increasing the force required to compress the unit from its fully extended position.
The key is that preload shifts the spring's operating point rather than changing its characteristics. Take our spring rate example from earlier, where we had a spring with a rate of 100 N/mm. With no preload, each additional millimetre of compression requires an additional 100 Newtons of force. Wind on 10mm of preload and the spring is already exerting 1000N of force while the shock itself remains fully extended.
That stored energy means more force is required before the suspension begins to compress under an additional load, but once it does, every extra millimetre of travel still requires the same additional 100N. In engineering terms, the force-displacement curve has shifted vertically, but its gradient – the spring rate – remains unchanged.
Damping controls the speed the suspension moves through its travel, either on the compression or rebound stroke, rather than how much it moves. It's created by oil flowing through valves inside the fork or shock body.
With great damping comes great control. Worn, contaminated oil – or simply not enough of it following a leak – can leave your suspension behaving like a pogo stick. Anyone who's had the misfortune of riding with a failed rear shock will likely recall the bucking bronco feeling and complete lack of control.
 Compression damping controls how quickly the suspension compresses when you hit bumps, brake or land after an obstacle. Too little compression damping and the bike will crash through its stroke. Too much and the fork or shock won't be able to move quickly enough, leading to an overly harsh ride and, ultimately, less traction.
Rebound damping controls how quickly the suspension extends again after being compressed. Too much rebound and the suspension can pack down over repeated bumps. Too little and the bike can feel nervous as it rebounds too quickly.
Setting your sag
Now you're fluent, let's move on to the physical stuff. As you know by now, sag determines where the bike sits in its stroke, get it right and the suspension will have sufficient compression and extension available to absorb the terrain and maintain traction. Too little sag on the rear suspension will make handling twitchy, too much will slacken the bike off, making it slow to turn.
A useful rule of thumb is to aim for around 10% static sag and 30-35% rider sag (sometimes called race sag) – meaning the shock should drop through roughly one third of the stroke with you aboard, kitted up.
"You absolutely want to get the static sag and the rider sag correct. Every model is a little bit different, so you'd have to refer to your owner's manual for the exact numbers. If you can't get those numbers through adjusting the preload, then you would need to change the spring rate," said Boyland.
"If you just wind a load of preload on and get your rider sag at, say, 100mm but you have zero static sag, the shock is always going to be bottoming out.”
Measuring sag is straightforward with a tape measure and a helper. First, measure the bike between two fixed points, such as the rear axle nut to the rear pillion grab handles, with the suspension fully extended – meaning wheels are off the ground and the bike's weight supported independently of the suspension.
Repeat this measurement with your machine upright and resting under its own weight to calculate static sag. Finally, take a third measurement sitting on the bike in full kit to calculate rider sag – you'll likely need a hand with this one. Every manufacturer recommends different figures, so always refer to your owner's manual for the correct settings.
Preload versus spring rate
If your sag figures aren't correct, preload is used to bring them into range, within reason. Too much rider sag can be fixed by adding more preload, but if the overall load of you and your kit is too heavy for the spring rate, the bike will still not handle properly and changing the springs should be your first course of action.
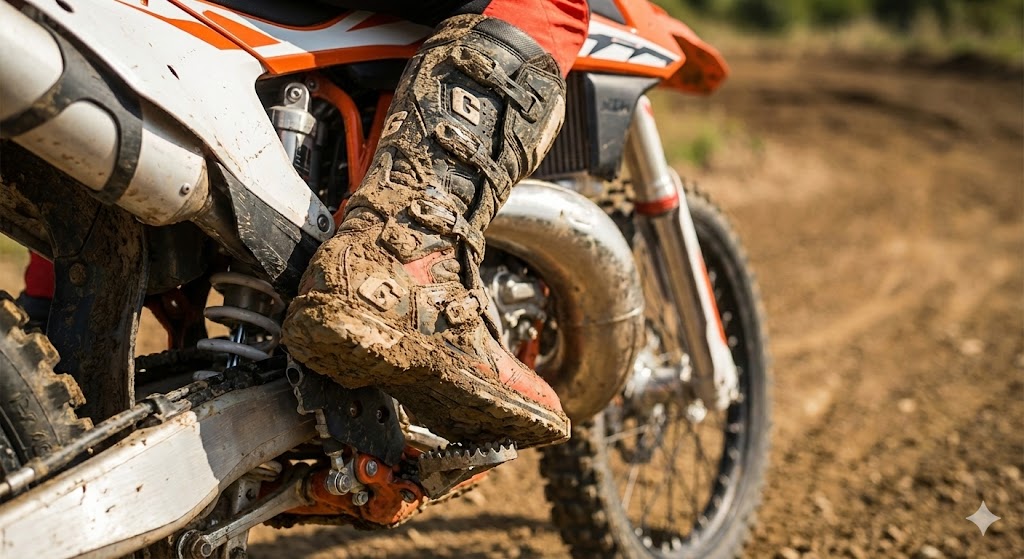 "You want to make sure you've got the right spring rate in the fork and the shock so the bike is running in the correct part of the stroke," Boyland added. "If it's not, then putting the right springs on is the first thing to do – and it's not hugely expensive, either."
Dial in your compression and rebound – it's free
With sag sorted, you can start fine-tuning how the suspension behaves using the compression and rebound adjusters.
No matter if the bike you're working on is new, second-hand, or has been yours for years, the best way to get a good baseline is to return compression and rebound damping to the factory settings, taking note of where the adjusters were beforehand.
From there, the only way to get an effective feel as a DIY tuner is to head out for a spin, tackling as much variety of terrain as you can, and make small changes to each damping circuit as you go. A couple of clicks at a time might be enough – though don't be surprised if your OEM hardware provides little in the way of meaningful adjustment compared with more premium componentry.
 Bear in mind while making your changes that altering damping settings may not necessarily have the effect you might think. Winding back compression, for example, will not make your forks less harsh per se.
Boyland adds: "Some people think, 'my bike is too hard on my hands, I'm going to wind the compression right off.' Then the fork dives through the stroke and actually makes it worse. Sometimes you might need to go a bit stiffer to make it more comfortable. It doesn't sound the right way round, but it'll make it run taller in the stroke, which is more compliant overall."
When to spend your money
If you're not racing, carrying huge loads, or pushing yourself to ride especially fast, correctly set-up and properly serviced standard suspension will likely be sufficient for your riding, so while the expression ‘good suspension ain't cheap and cheap suspension ain't good’ isn’t wrong exactly, you don’t inherently need to splash the cash to get an acceptable baseline level of performance.
That said, dusting off your wallet can yield big improvements, starting from relatively small investments through to four- or even five-figure upgrades at the top end. In the very least, money spent on suspension will likely be far more effective than any exhaust or bling addition you could think to add.
"You can start off by putting valving kits and big piston kits in. That's probably the entry level of upgrading your standard suspension," Boyland told ADV247.
"Then you would go up to a cartridge kit. For instance, you might fit a 6500 kit or a 7500 kit [to WP hardware].
Some models have cartridge kits available and some don't. If there's not a cartridge kit, there'll almost definitely be a complete replacement fork available [if you’re willing to pay].
"If you do go with a replacement fork and you change bikes later, you can move it onto the next bike or sell it and recover some of your money. Even though there's quite a big outlay originally, it'll last you and you'll definitely benefit from it."
If nothing else, Boyland reckons simply letting a professional tuner loose on your suspension will make a huge difference, even if just to ensure it’s properly serviced.
"People do hundreds and hundreds of hours on their suspension without service and then moan because the bike's kicking all over the place.
"Get to your local [service centre] and get it set up. You can put the flashy exhaust on there and all the graphics, but if your wheels aren't on the ground, you're not going anywhere.”

-2.jpg)